You have finally got your NVMe drive for storage expansion on your PlayStation 5. If you are at a loss about how to install it, this is the guide that will detail every step of the process, including the tools required.
If you’re after advice on which NVMe drive to buy for PS5 or PS5 Pro, you’ll want to check our dedicated best SSDs for PS5 guide.
How to Install a PS5 SSD
1. Power everything down and remove the stand
Before you begin installing your NVMe drive, please you have to ensure your PS5 has the latest software. Installation itself is a relatively painless process that requires only some basic tools. Sony specifically recommends a #1 Phillips or crosshead screwdriver to do the job, though a similarly-sized tool would work in a pinch. If you don’t happen to have a screwdriver, the DIY folks over at iFixit offer up a solid set for just $20.
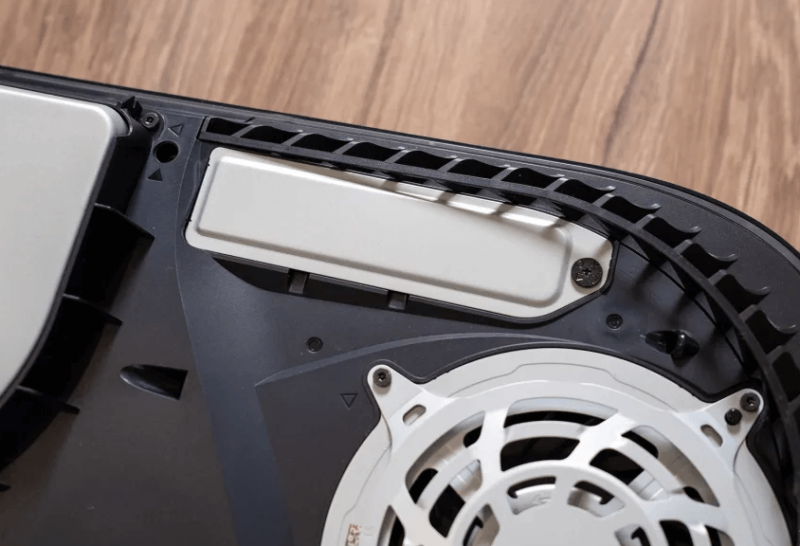
To begin to power your PS5 or PS5 Pro off, you have to unplug all the cables, and then take the stand off. Then you flip the console over to its underside. For a launch PS5 with a disc drive, this will be the side with the drive. If you have a launch Digital Edition, then just know it’s the side without the PlayStation logo cutout. For both PS5 Slim and PS5 Pro, the expansion slot is situated in the same place behind the smaller of the two panels.
Sony has a video guide for popping off the outer cover here, but the process is fairly straight-forward: gently lift the opposing corners and slide the panel towards the flat end of the console. It requires very little effort—just be gentle and don’t force it if it doesn’t slide off easily.
2. Access the drive bay
With the outer cover removed, you’ll see a rectangular piece of metal held in place by a screw. Unscrew this to access the drive bay. Inside, you’ll find five holes—each one corresponds to different SSD drive lengths. The hole marked 110 will have a metal insert and screw inside. Remove the screw using your screwdriver, then unscrew the insert with your fingers and move it to the relevant hole. For most drives, this will be the 80.
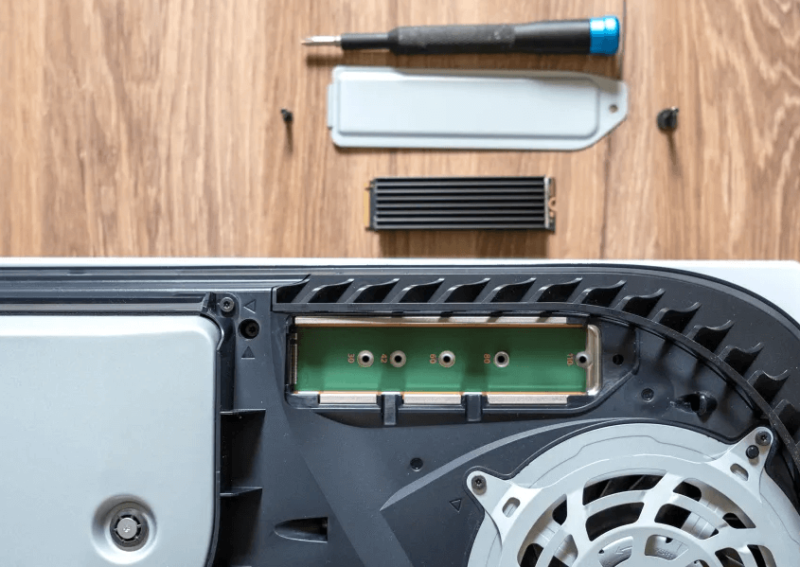
3. Slot in the SSD
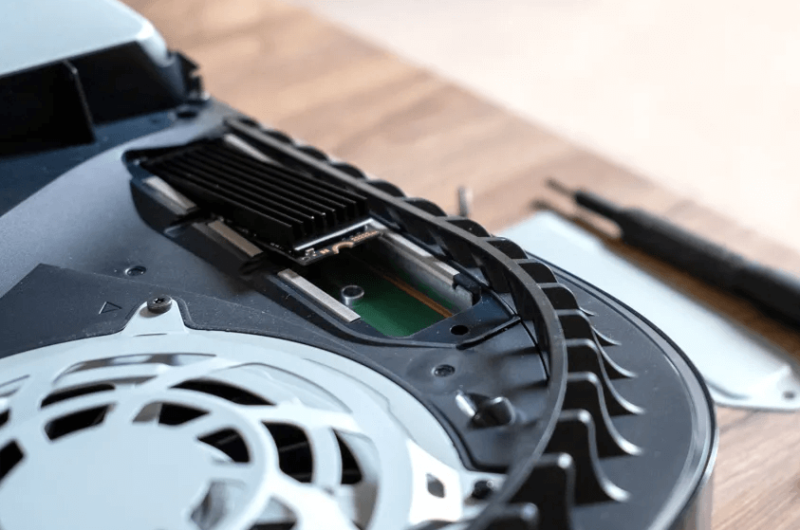
Take your SSD and slide it into the slot closest to the number “30.” SSDs are designed to fit in only one direction, so there’s no need for force. If it doesn’t slide in smoothly, don’t push it—readjust your grip and try again. You’ll notice that the SSD doesn’t sit flat; this is expected and as designed.
4. Secure the drive bay back in place
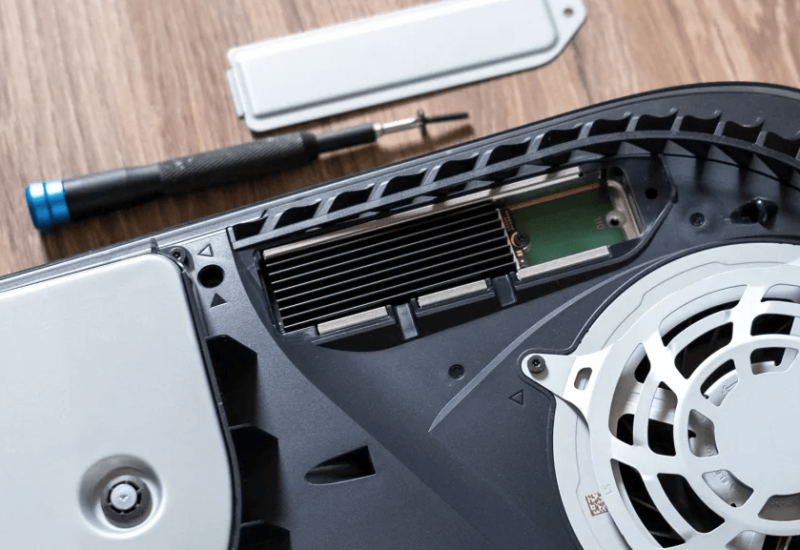
Once the SSD is in place, take the screw you removed from the insert and screw it into the SSD to secure it. Just align the screw with the notch at the end of your SSD, push down gently until it meets the insert, and give it a few turns—don’t overtighten it. With the SSD secured, replace the metal cover and screw it down, then slide the plastic outer shell back into place.
Once you boot your PS5 again, it will ask you to format the new drive. Follow the on-screen instructions to complete the process. You have now successfully expanded your console’s storage and can download and move games onto the new SSD.


Leave a Reply